How to Make Vitamin C Serum at Home: A DIY Guide for Radiant Skin
Want the benefits of Vitamin C without the high price tag? Learn how to safely make your own Vitamin C serum at home and keep your complexion glowing.

Vitamin C is a powerhouse ingredient for brightening the skin and fighting oxidative damage, but high-quality commercial serums can be expensive. For the budget-conscious skincare enthusiast, learning "how to make vitamin c serum at home" can be an appealing option. However, Vitamin C—specifically L-ascorbic acid—is notoriously unstable and sensitive to light and air. To create a serum that is both safe and effective, you must follow Precise measurements and proper storage techniques. In this guide, we'll walk you through a simple, safe DIY formula for a radiant complexion.
Required Ingredients and Tools
To ensure safety and efficacy, you'll need the following:
- L-Ascorbic Acid Powder: Use a high-quality, ultra-fine version designed for skincare.
- Distilled Water: Tap water contains minerals that can cause the serum to oxidize rapidly.
- Vegetable Glycerin: This acts as a stabilizer and humectant, giving the serum a better texture.
- Dark Glass Dropper Bottle: Essential for protecting the unstable Vitamin C from light.
- Electronic Scale: Precision is key for maintaining the correct pH and concentration.
Step-by-Step DIY Serum Recipe
Follow these steps to create a basic 10% Vitamin C serum:
- Dissolve: Combine 1 teaspoon of L-ascorbic acid powder with 9 teaspoons of distilled water in a small clean bowl. Stir until the powder is completely dissolved (this may take a few minutes).
- Add Stabilizer: Gently stir in 1 teaspoon of vegetable glycerin.
- Transfer: Using a small funnel, pour the mixture into your dark glass dropper bottle.
- Test: Ideally, use a pH strip to ensure the serum is between pH 2.5 and 3.5. If it's too acidic, it may irritate the skin.
Crucial Storage and Usage Tips
Because DIY Vitamin C is unstable, its shelf life is very short:
- Store in the Fridge: Keeping the serum cold significantly slows down the oxidation process.
- Check for Color Changes: If the serum turns yellow or orange, it has oxidized and should be discarded. It will no longer be effective and could potentially irritate the skin.
- Make Small Batches: Only make enough to last for one week at a time. Freshness is the key to DIY success.
- Start Slowly: Vitamin C can be irritating. Use it every other morning at first to allow your skin to adjust.
Summary
Learning how to make vitamin c serum at home is a great way to enjoy the benefits of this "glow" ingredient on a budget. By using distilled water, dark storage, and making fresh weekly batches, you can maintain a high potency for your skin. Always prioritize safety and skin comfort, and enjoy your journey toward a brighter, more radiant complexion!
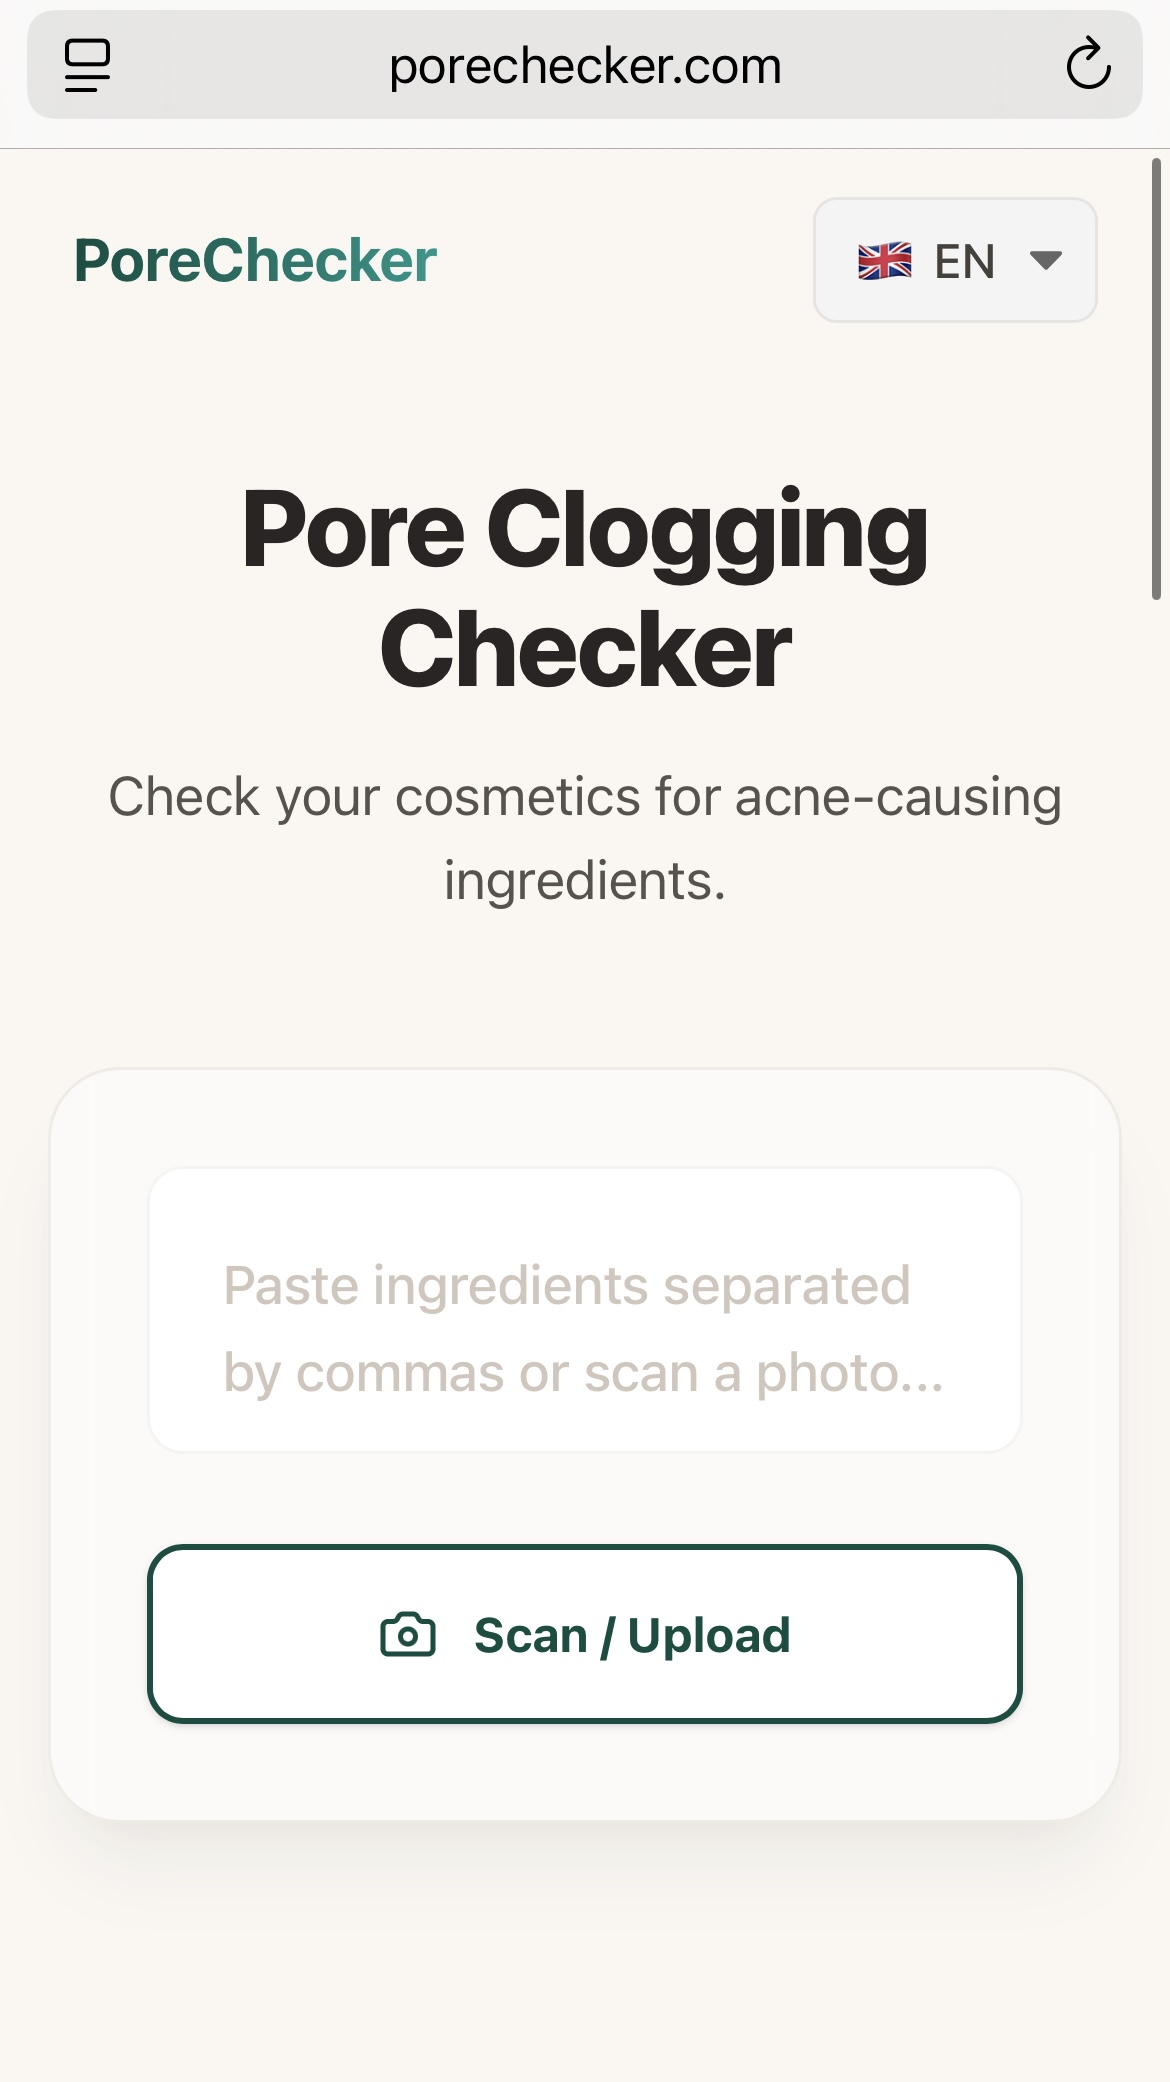
Step 1: Upload Your Product Image
Simply snap a photo of the ingredient list on the back of any bottle, jar, or box. No typing required.
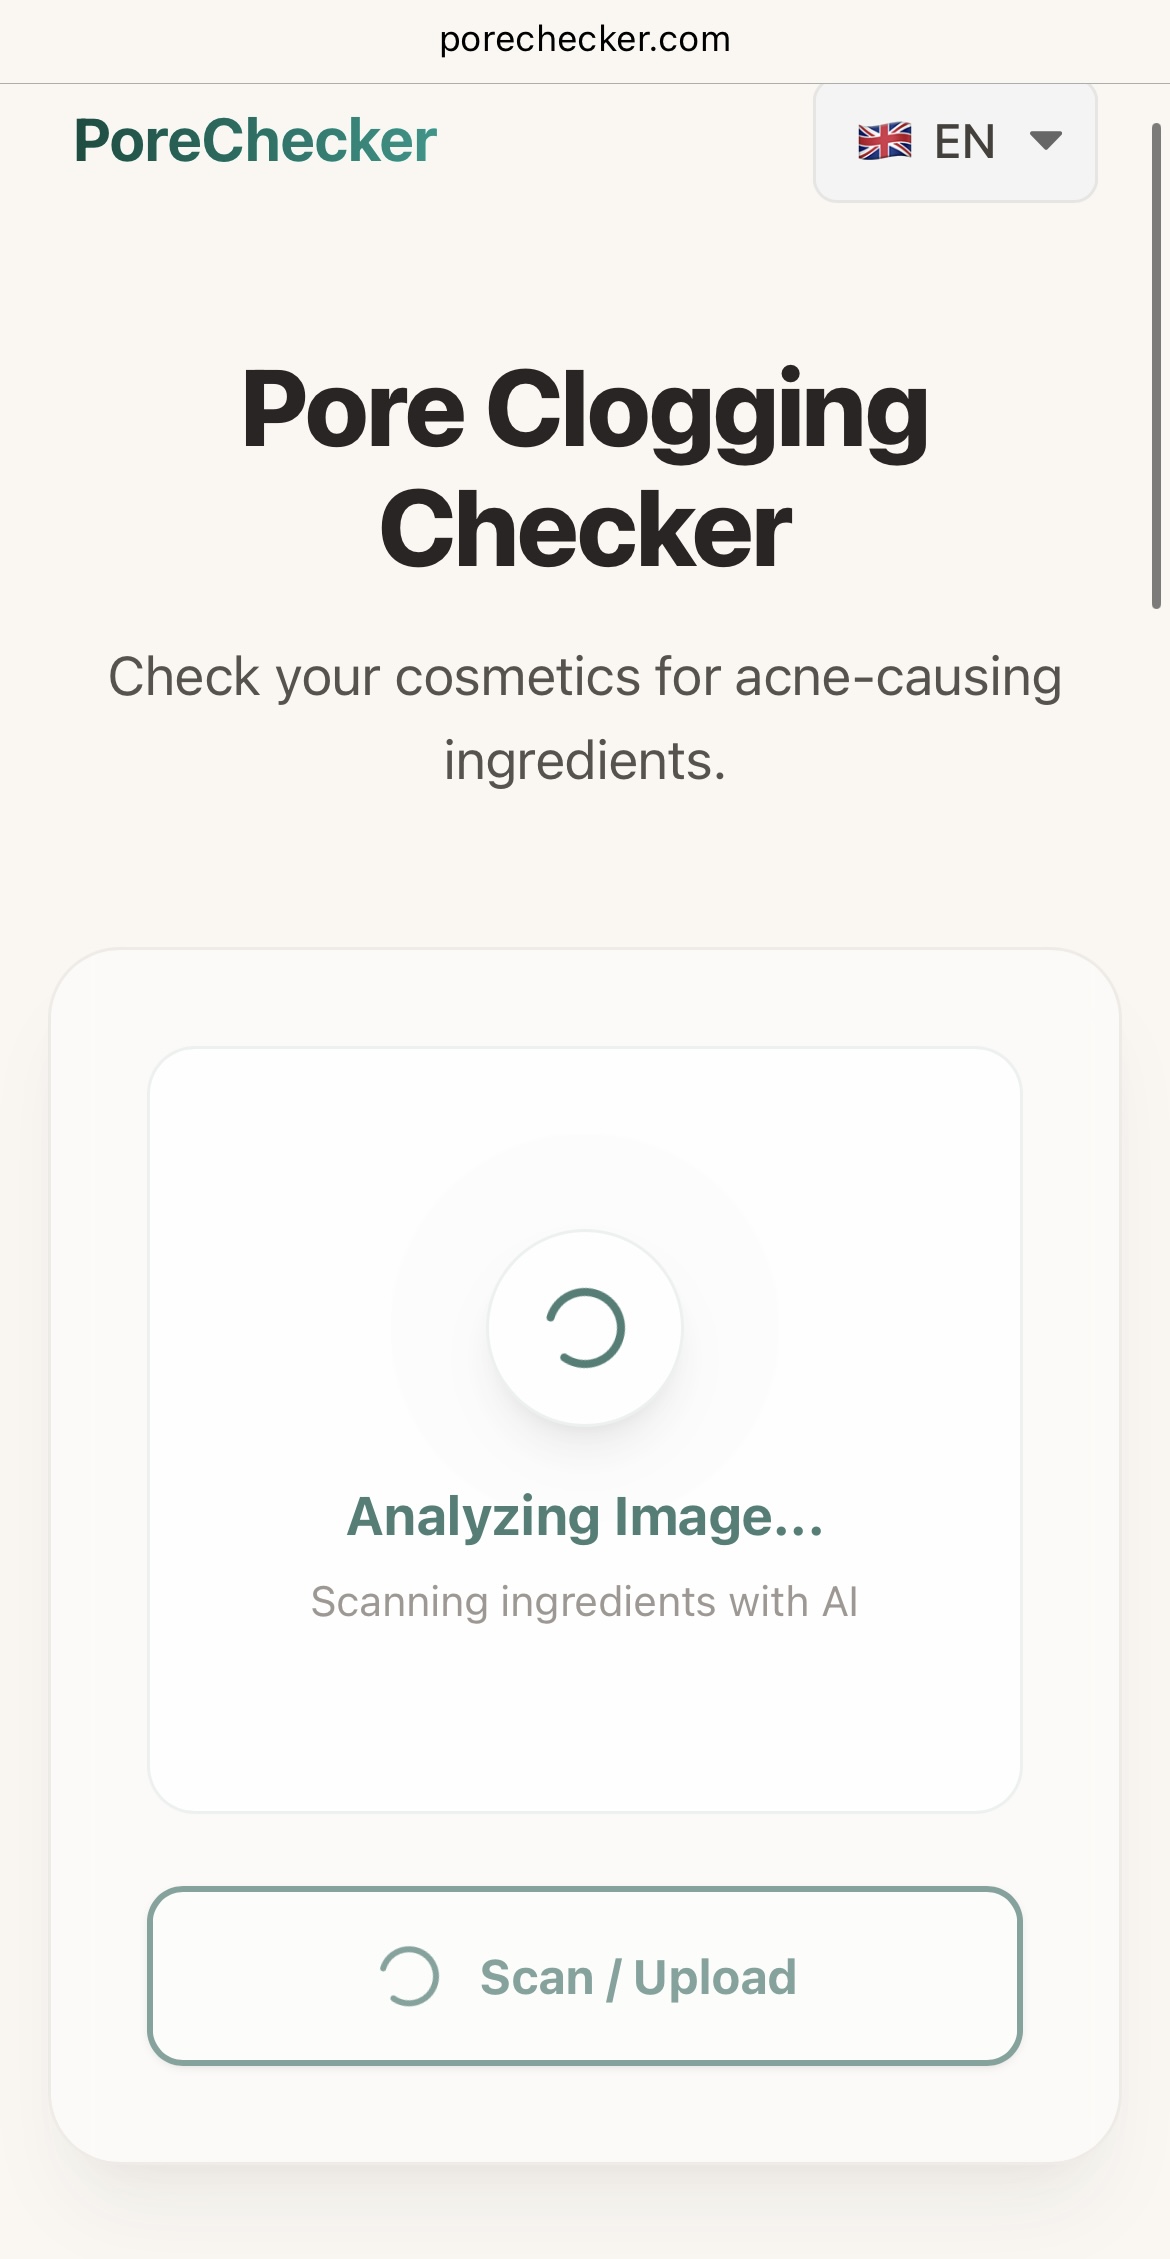
Step 2: Instant AI Ingredient Analysis
Our advanced AI scans the image, performs OCR (Optical Character Recognition), and matches every ingredient against our curated database of comedogenic substances.
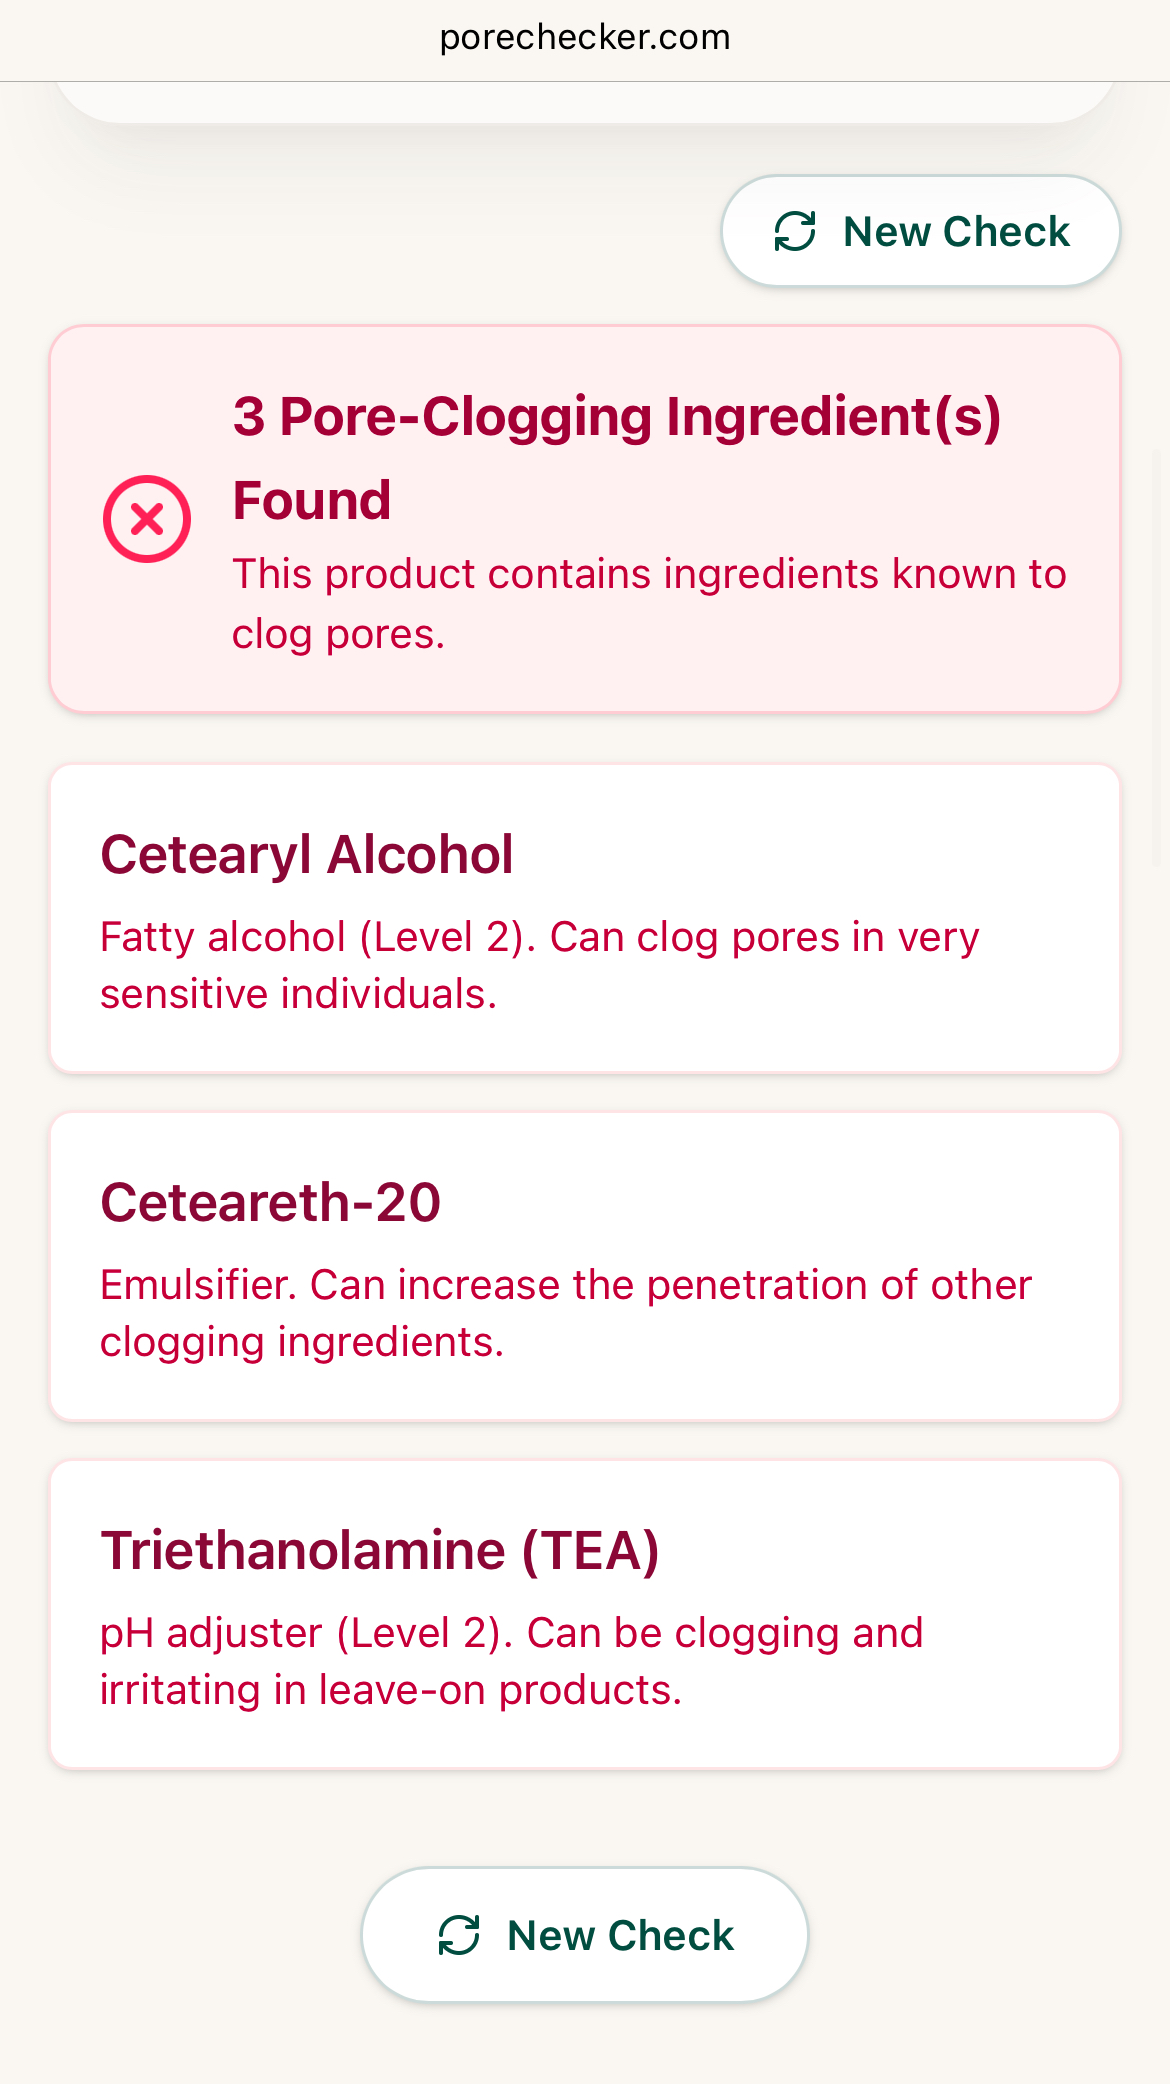
Step 3: Clear Results for Clearer Skin
You get an immediate breakdown. If any red-flag ingredients are found, we highlight them and explain why they might be problematic for your pores.
Does this product fit my skin's needs?
Check Your Products Now